Additional Transform [FREE version] Manual
0. Installation
This script supports two modes: 'Standalone' mode that applies Additional Transform directly on execution of the script and 'Script UI' mode that displays a small UI window where the function can be applied with a click.
Standalone Mode
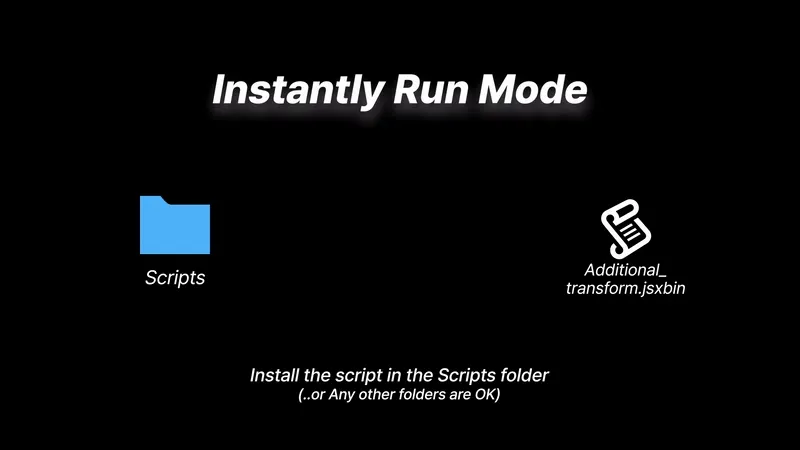
Standalone mode is a mode that applies Additional Transform immediately to the selected layer(s) when the script is executed.
If you want the script to work like this, open the "Scripts" folder under the After Effects installation folder and copy the script into it.
PRO TIPS
Script UI Mode
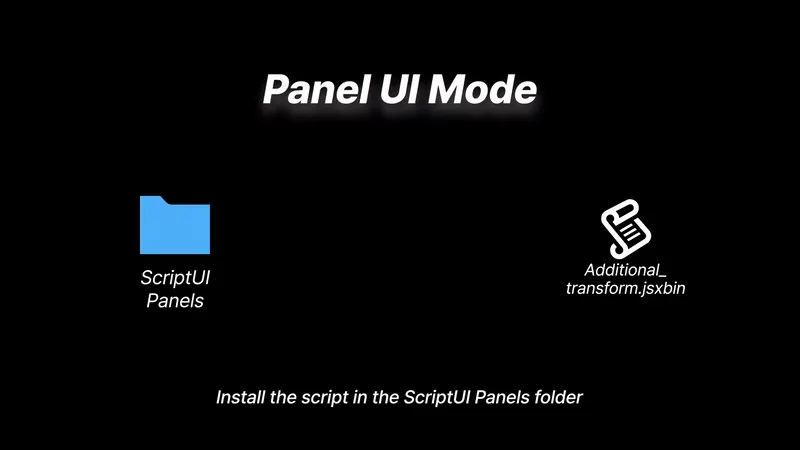
Script UI mode is a mode that displays a small window with buttons.
After moving the window to where you want it, you can apply Additional Transform with a click on the layer(s) to which you want to apply Additional Transform.
To use the script in this way, open the "ScriptUI Panels" folder under the "Scripts" folder in the After Effects installation folder and copy the script into it.
1. Setting and Execution
Run the script
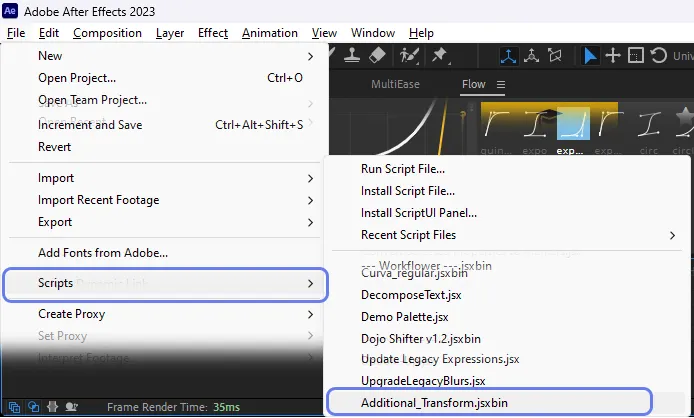
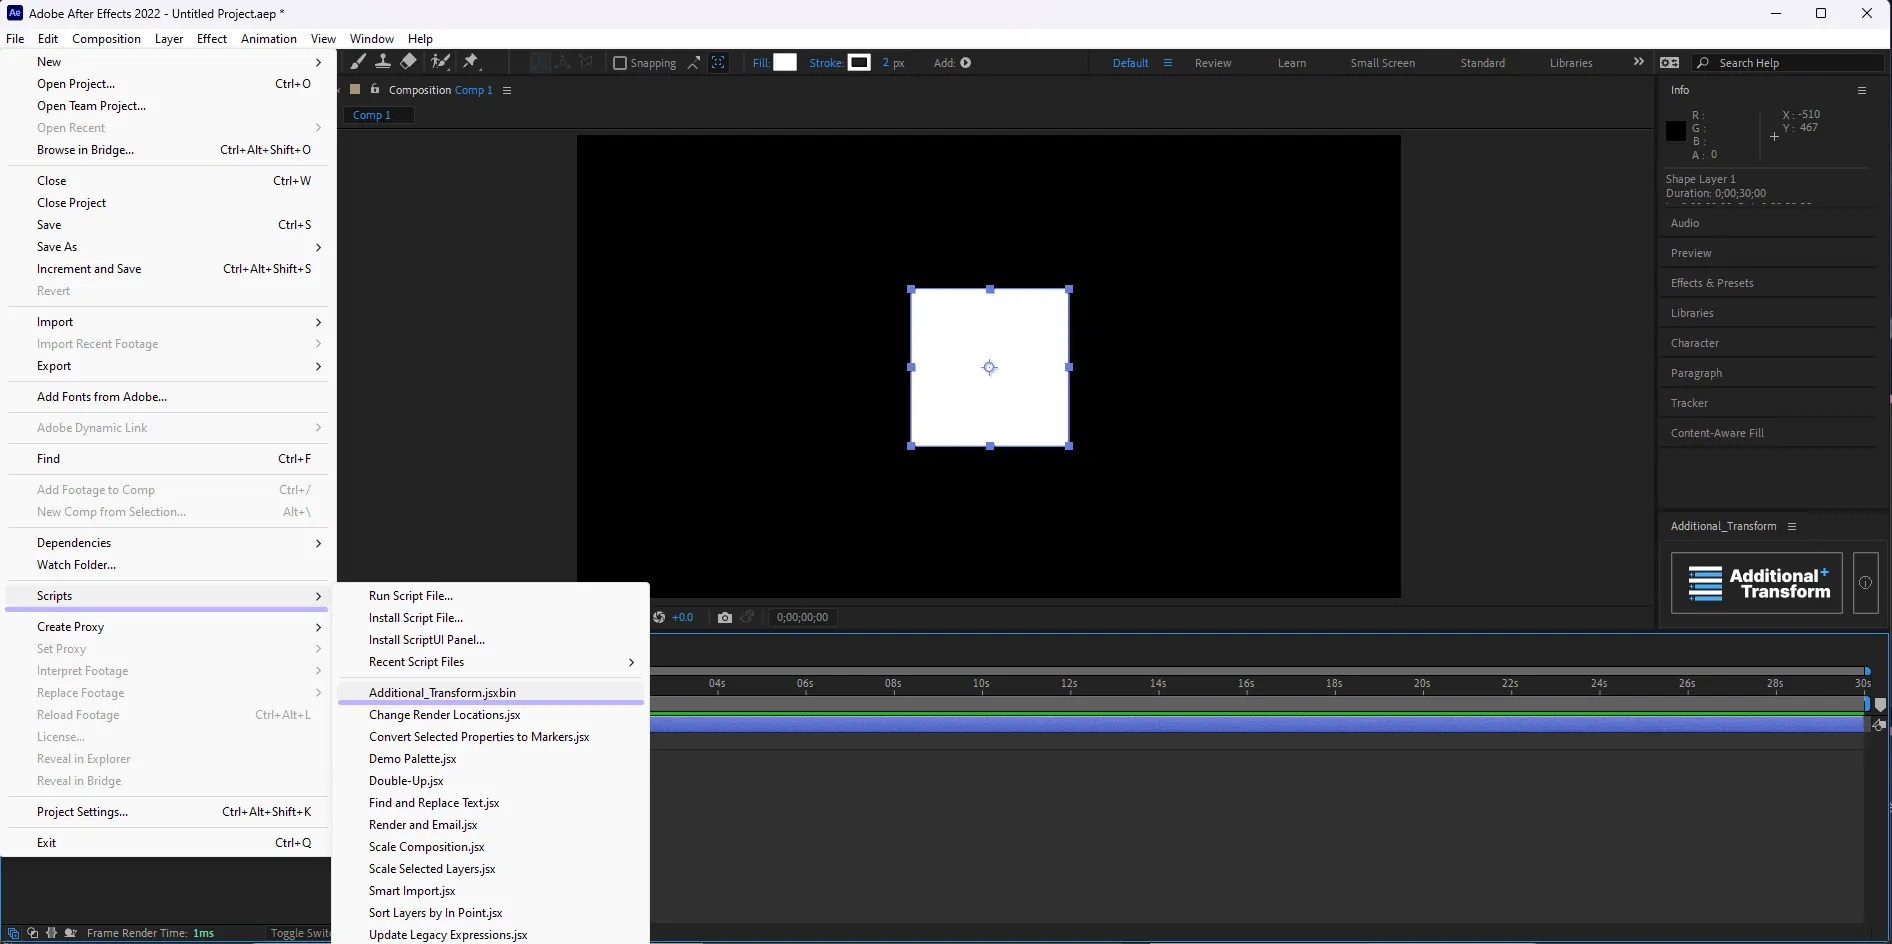
A script installed as a general script can be found under the Script menu under File in After Effects.
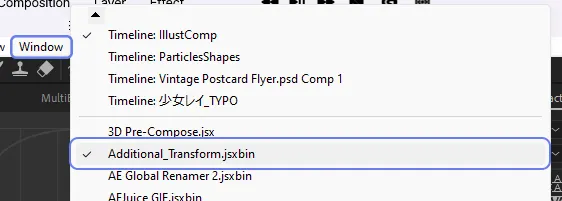
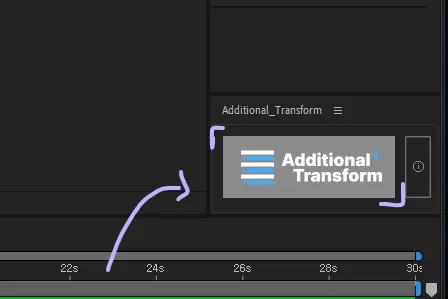
A script installed with ScriptUI can be found under the Window menu. Sometimes, if the script is not visible, press the small arrow at the bottom of the screen to scroll down the menu.
Initial Settings
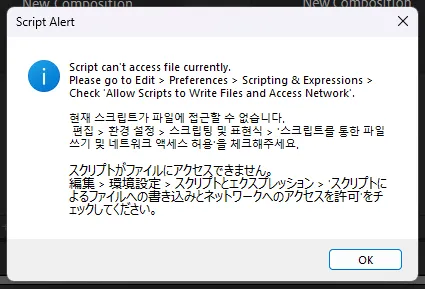
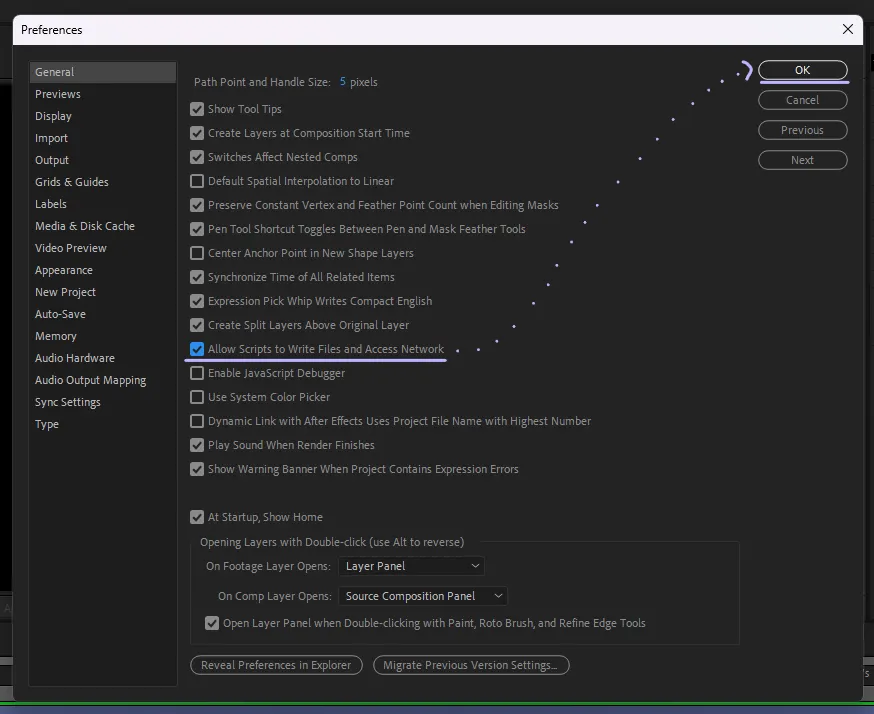
When you first run a script, if the 'Allow Scripts to Write Files and Access Network' setting is turned off in the configuration settings, the following error is displayed.
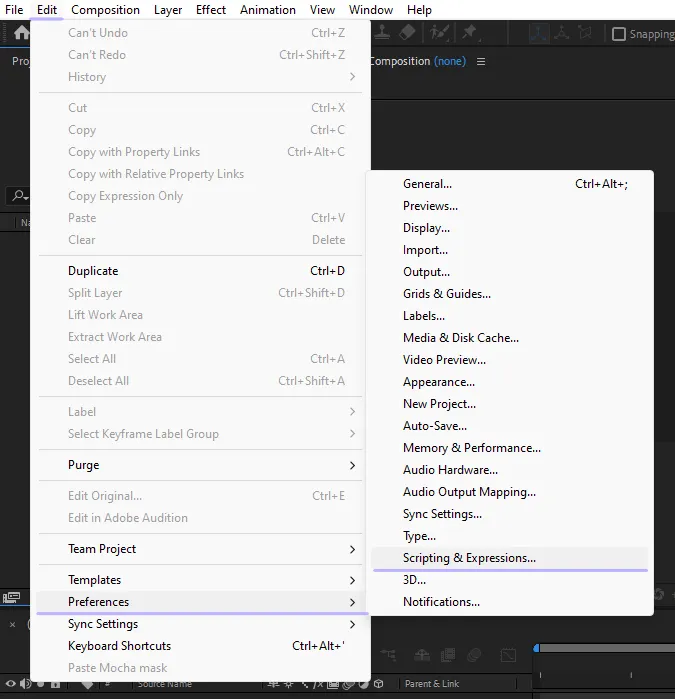
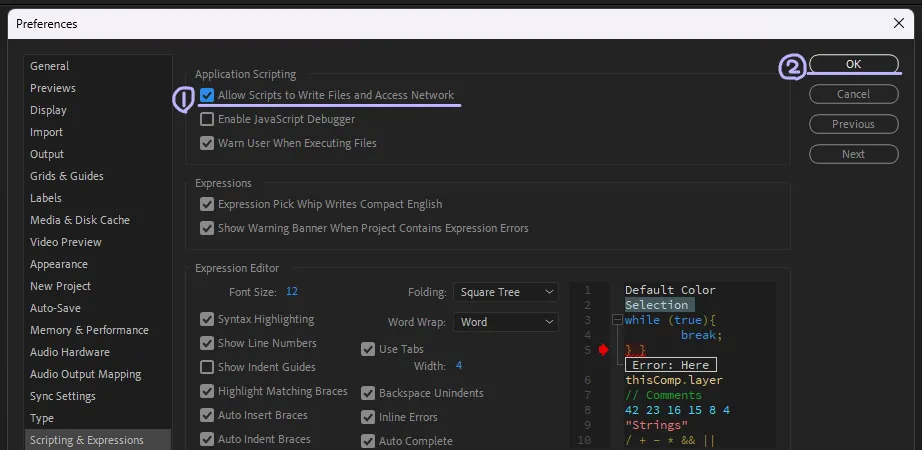
If you press OK in this window and wait, the settings window will be displayed for you to make the relevant settings.
If you can't see the Configuration window no matter how long you wait, open the Configuration window, check 'Allow Scripts to Write Files and Access Network' and close the Configuration window.
If the version you're using is CC2019 or lower
First of all, the Additional Transform script supports CC 2019 and later versions. If you are using CC 2018 or earlier, please update After Effects.
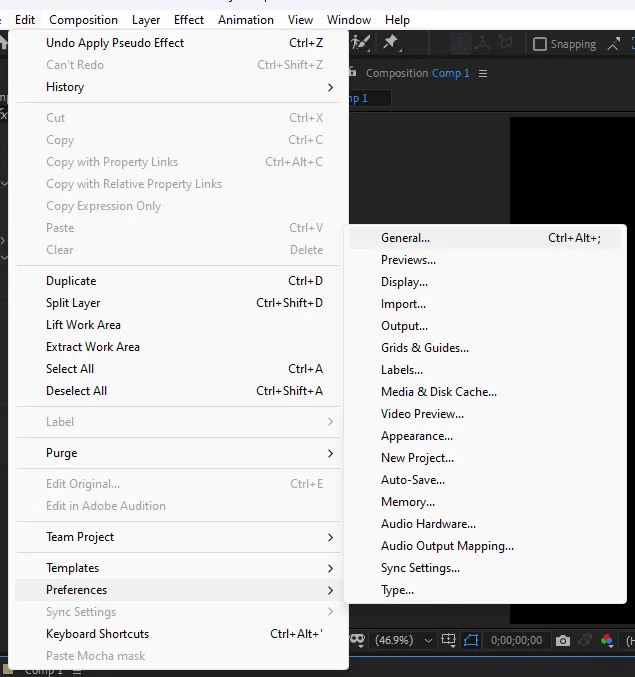
Since the CC2019 version does not have a 'Scripting and Expressions' tab in the settings, Additional Transform cannot automatically open the settings panel, so you must set it as follows.
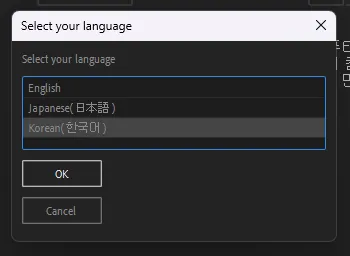
When you first run the script, you will be asked to select a language. This setting is for your convenience regardless of the language of After Effects. Select the language of your choice and click OK.
Standalone Mode
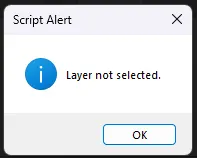
If you chose Standalone mode, the function will be executed immediately after language selection. If no layers are selected, however, you may see the following error:
This is not an error, and the script is installed correctly. Simply select a layer(s) and run the script again to apply Additional Transform.
If you register this script as a shortcut key, you can run the function with a single shortcut key. For more information, see the article on  How to Assign Scripts to Shortcuts.
Script UI Mode
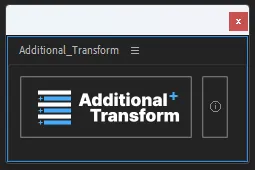
After language selection, a large window like the one on the right will appear.
The window is big, but the actual operating part is small, so you can pull the window to make it smaller.
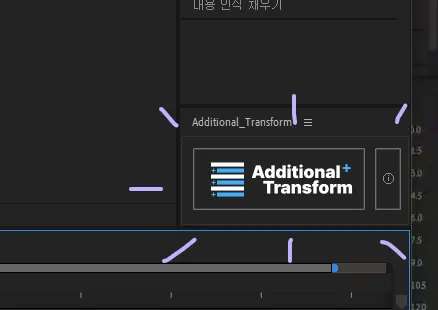
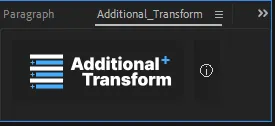
You can dock the panel in the desired location by dragging the panel as shown on the right.
you have completed the setup, you can apply Additional Transform with one button click.
About the phenomenon that all icon buttons are displayed in a round shape in After Effects 2023 and later versions
The latest version of After Effects 2023 has been updated to show all the image buttons (icon buttons) in a round shape.
OMG.
I've looked into it in many ways, but I couldn't find a solution in the end, and if there's a way to return the shape of the button later, I'll apply it. There is no functional problem.
If you don't want to see the round button, press the menu button on the upper right side of the script panel and check [Use Legacy UI]. The buttons change neatly.
2. Applying Additional Transform
Standalone Mode
Script UI Mode
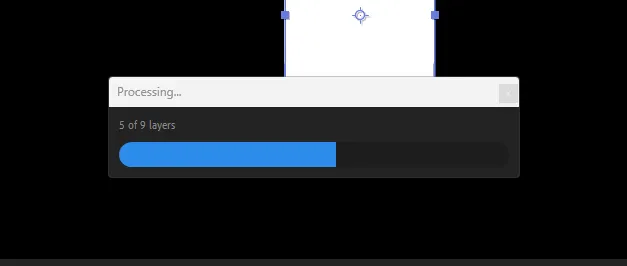
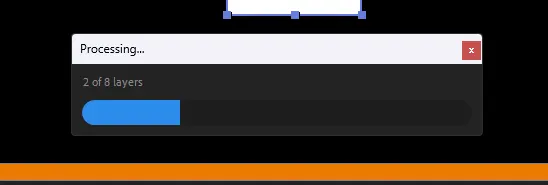
* The application time is proportional to the number of layers selected.
3. Using Additional Transform
The basic operation principle of Additional Transform is as follows:
Operation Principle of Additional Transform
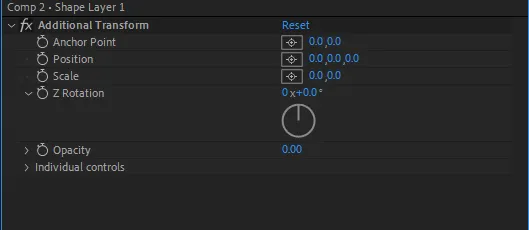
Additional Transform uses expressions that calculate the transformation properties and apply them to the layer's transformation attributes. Here are the calculations for each transformation property:
•
Anchor Point = Layer's default value + Additional Transform (Anchor Point X, Y, Z)
•
Position = Layer's default value + Additional Transform (Position + Position X, Y, Z)
When Separate Dimentions is enabled
•
Scale = Layer's default value + Additional Transform (Scale + Scale horizontal, vertical)
•
Rotation = Layer's default value + Additional Transform (Z Rotation)
Rotation When 3D Layer is enabled
•
Opacity = Layer's default value + Additional Transform (Opacity)
* For example, if the layer's default X Position is 300, Additional Transform's Position is [150, 0], and Position X is 40, the final X Position value of the layer will be 300 + 150 + 40 = 490.
* The Opacity controller of Additional Transform allows values from -100 to 100. For instance, if the layer's Opacity is 100% and the Opacity value of the controller is -40, the final Opacity value will be 60%.
Additional Transform aims to make keyframe animation easier. While the usage depends on your preferences, I recommend the following approach:
1) Easy Animation Repositioning
If you have applied keyframe animation to a layer and need to copy and place it in a new position, you don't have to go through the hassle anymore. Here's what you can do:
← Click the left triangle to see the instructions
2) Easy Movement of Layers with Pre-Applied Keyframes
If you have already applied keyframes to a layer and want to move it, you no longer need to select all the keyframes, move to the desired time, and manually adjust the values. You can say goodbye to the tedious process.
← Click the left triangle to see the instructions
3) Creating Two Keyframe Animations Simultaneously
When you need to start the exit animation while the entrance animation is still playing, or when you want the layer to continue moving after the entrance animation has finished, adding a null object would result in more layers. You would have to duplicate the null object along with the layers later. It can be a hassle. In such cases, Additional Transform can also be helpful.
← Click the left triangle to see the instructions
4. Fixing/Releasing Expressions
Fixing Expressions
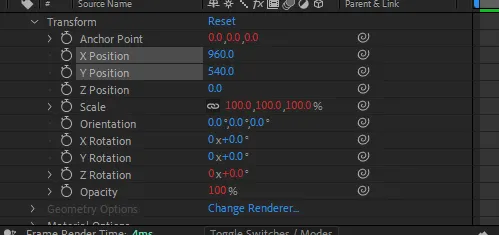
After applying Additional Transform and performing "Separate Dimensions" or activating "3D Layer," some expressions of certain properties may be released, as shown in the image above.
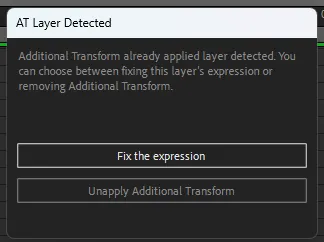
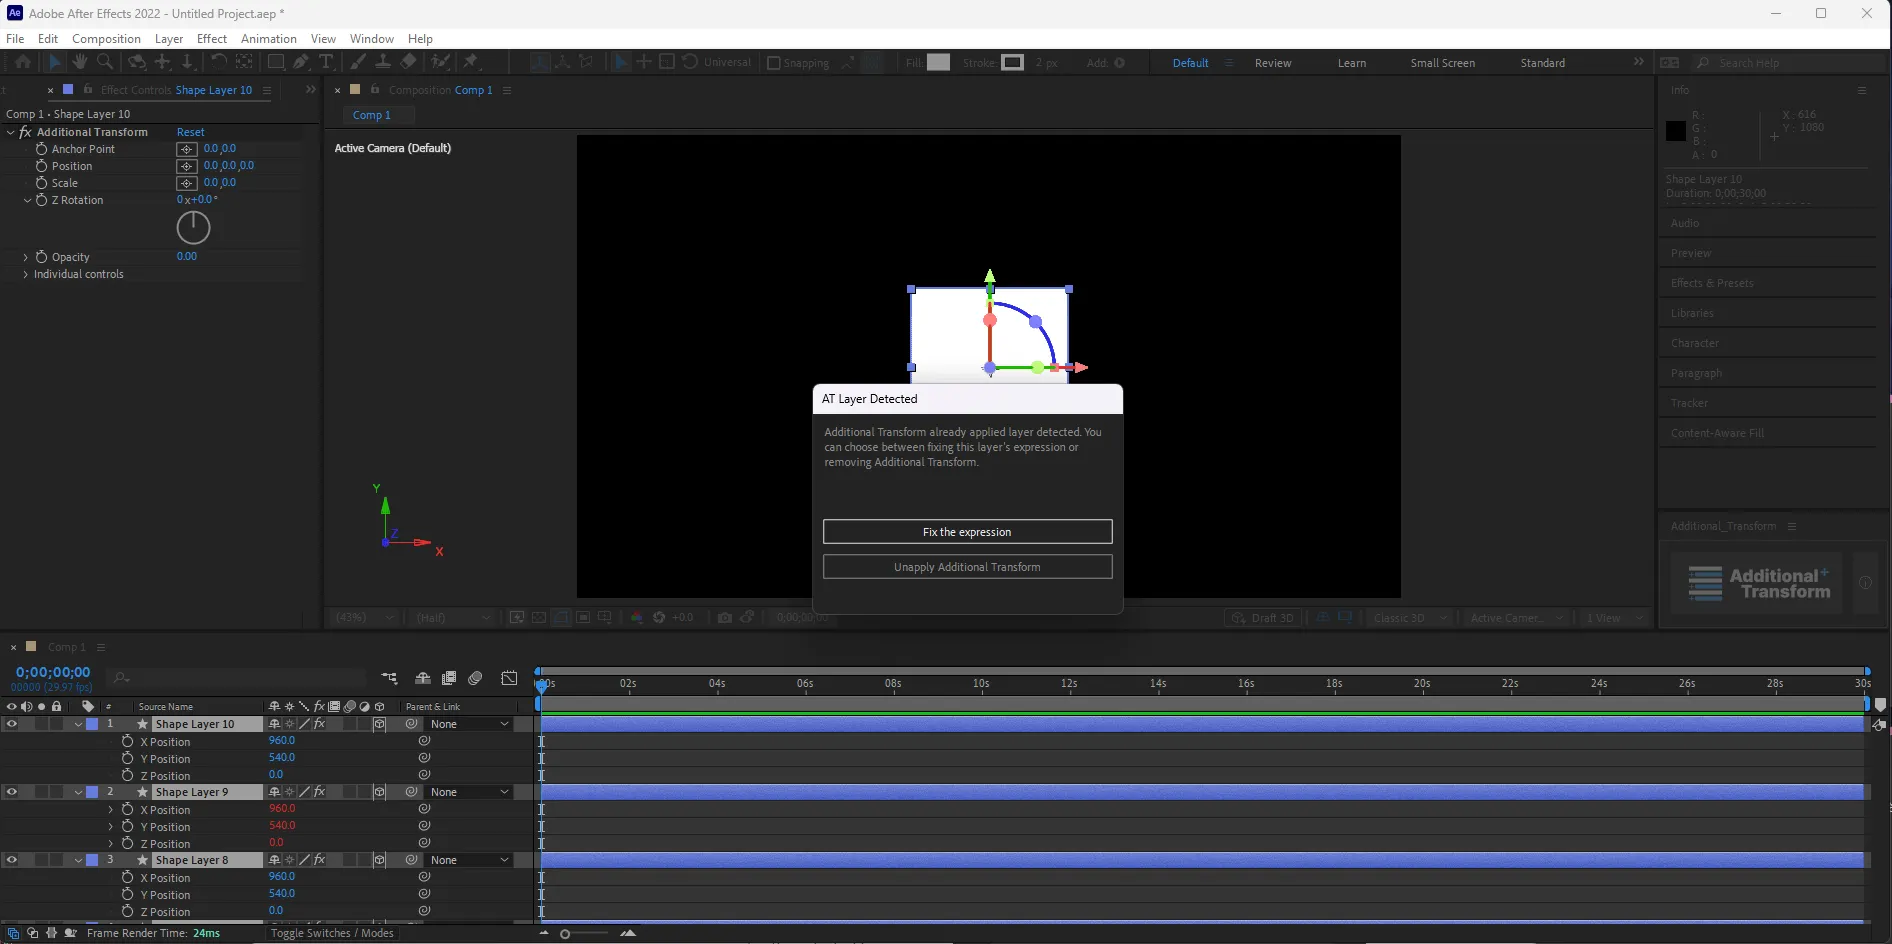
Fixing them is easy. Select the layer with the applied Additional Transform and apply Additional Transform again. Then, a window will appear on the right side, where you can choose to "Fix Expressions".
You can confirm the fixed expressions along with a notification message.
Fixing Expressions for Multiple Layers at Once
When separating dimensions for multiple layers or activating the 3D layer mode for multiple layers, expressions for those layers will be released simultaneously. To handle this situation, the feature to fix expressions for multiple layers at once is also supported. Simply select all the layers you want to fix (including layers without issues), run Additional Transform, and choose "Fix Expressions".
Please note that if there are layers without Additional Transform applied among the selected layers, they will unintentionally have Additional Transform applied to them.
By doing so, you can fix the expressions for the selected layers at once and receive a notification message about the results.
Unapplying Additional Transform
If Additional Transform is mistakenly applied or is no longer needed, select the layer where you want to release Additional Transform and apply Additional Transform once again. Then, in the displayed window, click "Unapply Additional Transform".
By doing so, you will release Additional Transform for the selected layer and receive information about the results.
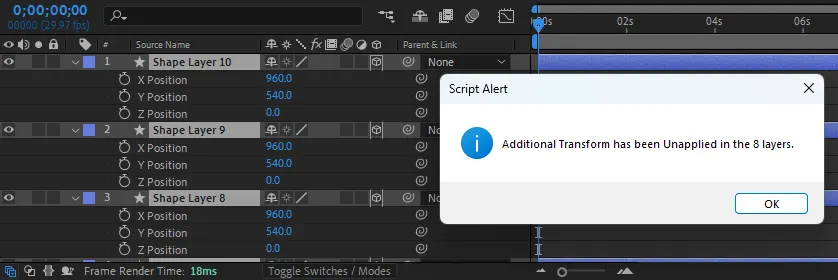
You can also select multiple layers (even including layers without Additional Transform applied) and follow the steps: Apply Additional Transform → Click "Unapply Additional Transform". This will release Additional Transform for all the selected layers.
After the release, you will be provided with the results.
5. Changing the Language
6. Reporting Bugs or Making Feature and Improvement Suggestions
Please refer to  How to report a bug and suggest new features and improvements for instructions on reporting bugs or making feature and improvement suggestions.
Additional Transform [PRO 버전] 사용 설명서
아직 Additional Transform의 프로 버전은 아이디어 단계입니다. (미개발)


